KNOMI

Product Profile
KNOMI is a mini round screen designed specifically for Klipper running 3D printers, offering users a unique and personalized way to monitor their printer's operation. The screen displays important information through the KNOMI UI, such as heated bed temperature, nozzle temperature, leveling status, printing progress, etc. KNOMI is an open-source product, allowing users to customize the user interface and design mounting brackets to fit their specific 3D printer.
Features Highlights
- KNOMI UI-based display for quick and easy monitoring of printer status
- User-friendly, wireless communication through WiFi
- Open-source enables effortless customization and adaptation of KNOMI to various 3D printers with provided 3D model files, while also allowing personalized user interfaces to suit preferences
- Compatibility with Voron StealthBurner using our custom printed part files
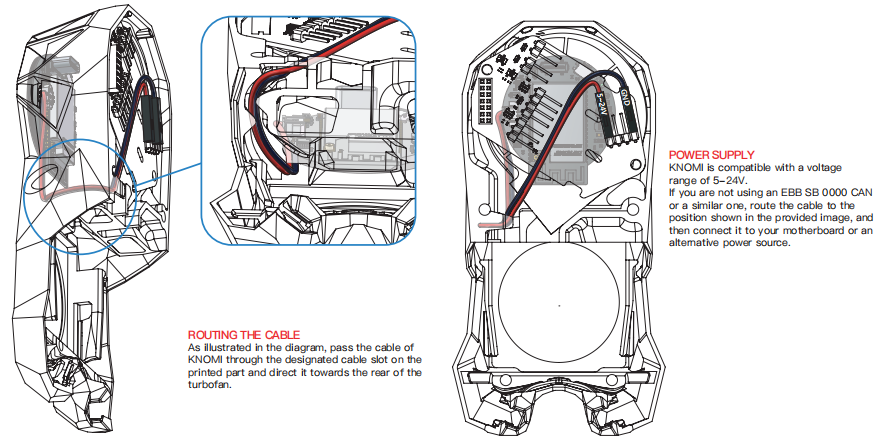
- Wide input voltage range (DC 5V-24V) for convenient power supply
- Reserved Type-C port for DIY burning, increasing versatility
- Full-view screen for accurate color representation from any angle

For information about KNOMI structure, please click :KNOMI USER GUIDE.PDF
PERFORMANCE COMPARISON TEST
DOES USING KNOMI IMPACT YOUR STEALTHBURNER'S PERFORMANCE?
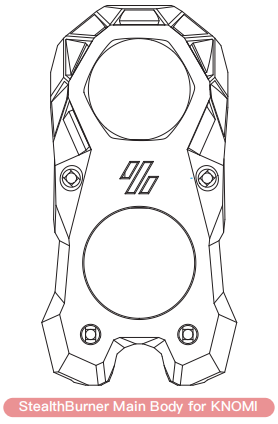
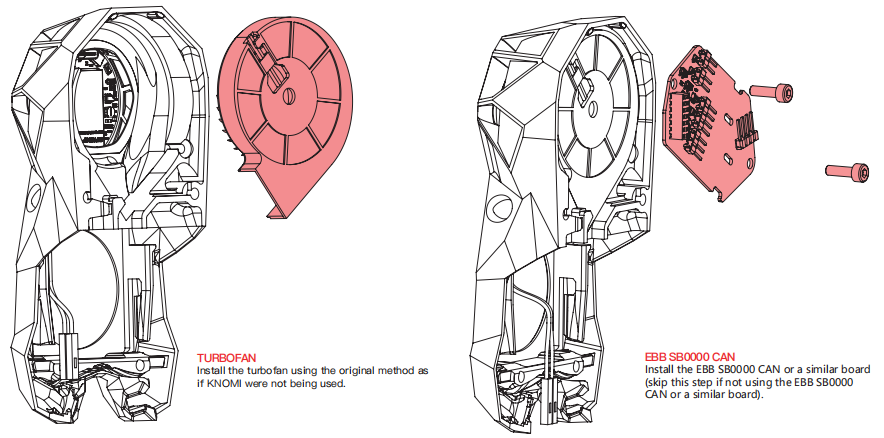
We will offer the customized mounting printed part files for you to effortlessly install KNOMI onto your Voron Stealthburner, in which the StealthBurner main body retains the original fan position and incorporates additional vents on the top for enhanced compatibility and optimized heat dissipation.
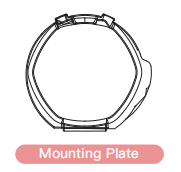
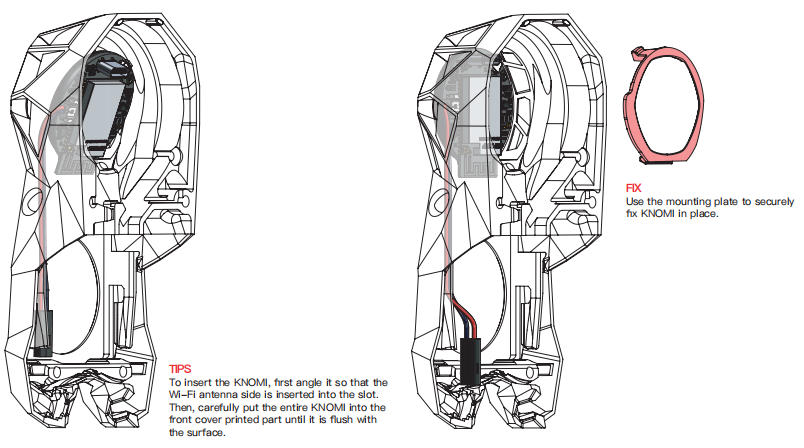
MOUNTING PLATE
Prior to starting the installation procedure, it is advised to have these two printed parts readily available. Owing to size limitations and air duct considerations, the Mounting Plate has been engineered with a snap-fit design. This may be prone to damage during repeated disassembly and assembly. It is recommended to print additional backup pieces for convenience.
We conducted a comparative analysis measuring wind speed and acoustic energy levels between the original StealthBurner and our customized version featuring vents and KNOMI add-on. The results showed that both versions performed similarly, indicating that adding KNOMI will not compromise the performance of the StealthBurner.

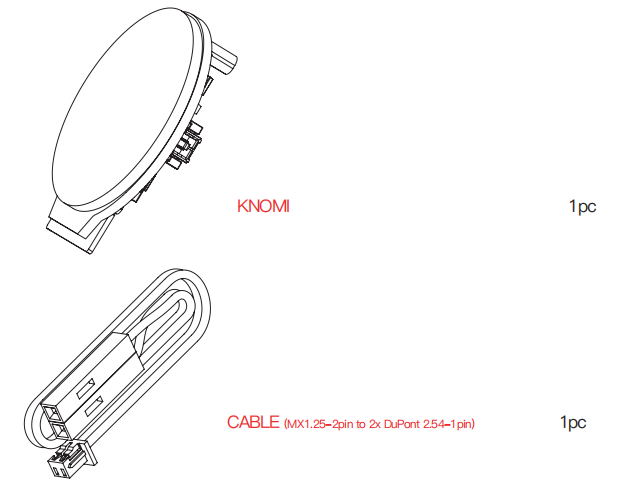
PACKING LIST
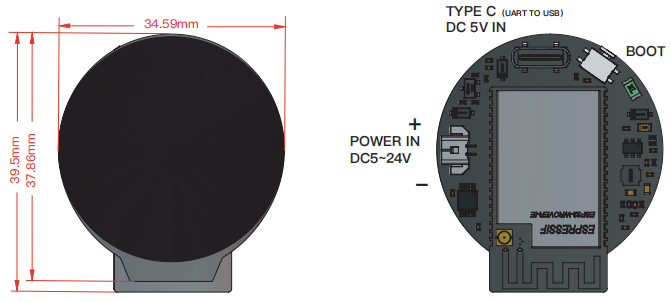
OVERVIEW
CONFIGURING WIFI
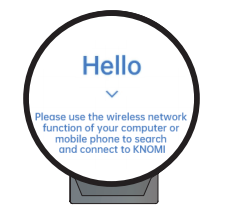
ACTIVATE THE HELLO INTERFACE
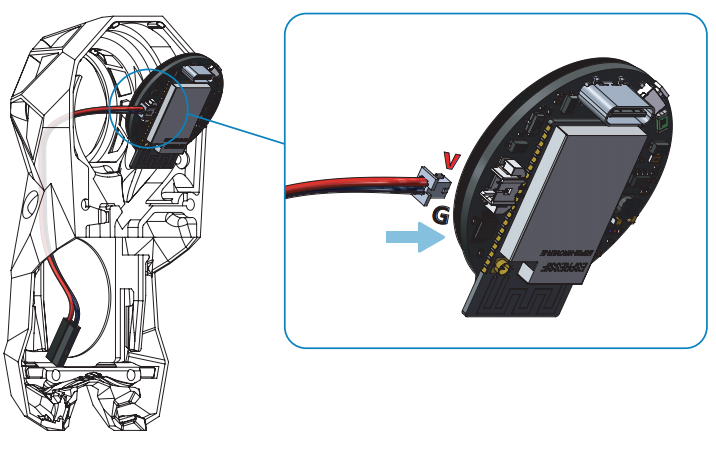
Power KNOMI using either the Type-C or MX1.25 interface.
While KNOMI is powered on, press and hold the BOOT button for 5 seconds.
Wait for KNOMI to display the HELLO message then release the BOOT button.
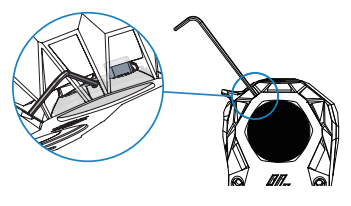
Alternatively, following the installation's completion, the BOOT button may be pressed using a slender tool, such as a hex key.
COMPATIBILITY
Due to device compatibility issues, KNOMI cannot configure networks with WPA PSK encryption.If you encounter an error configuring your network with KNOMI, please check the encryption method of your router and switch it to WPA/WPA2 PSK mixed mode or another compatible mode.

CONNECTING TO KNOM
1.Using a Wi-Fi-enabled device, locate and connect to the “BTT-KNOMI" network.
2.Allow your browser to automatically open the confifiguration page.
3.Input your local area network Wi-Fi credentials and the printer IP address in the designated fields.
4.Select “Submit" to save your settings.
5.Upon seeing the submission success page, close the browser.
6.Allow about 10 seconds for the display screen to transition to the standard working interface following a successful network connection.
CONFIGURING WIFI

KNOMI DISCONNECTED
If KNOMI is displaying this interface, it means that KNOMI is disconnected from the printer. This may be caused by the following problems:
1.You have modified the Wi-Fi name or password, causing KNOMI and the printer to be in different network states. To resolve this, press and hold the BOOT button on the side of KNOMI for 5 seconds to enter the "HELLO" interface. From there, you can reconfigure the network connection.
2.The printer has a network failure and cannot establish a network connection with KNOMI. To resolve this, try restarting your 3D printer.
INSTALL KNOMI TO STEALTHBURNER

ADDING RELEVANT MACROS
[gcode_macro BED_MESH_CALIBRATE]
rename_existing: BED_MESH_CALIBRATE_BASE
variable_probing:False

gcode:
  SET_GCODE_VARIABLE MACRO=BED_MESH_CALIBRATE VARIABLE=probing VALUE=True
  BED_MESH_CALIBRATE_BASE
  SET_GCODE_VARIABLE MACRO=BED_MESH_CALIBRATE VARIABLE=probing VALUE=False

[gcode_macro G28]
rename_existing: G0028
variable_homing:False

gcode:
  SET_GCODE_VARIABLE MACRO=G28 VARIABLE=homing VALUE=True
  G0028
  SET_GCODE_VARIABLE MACRO=G28 VARIABLE=homing VALUE=False
HOMING AND LEVELING
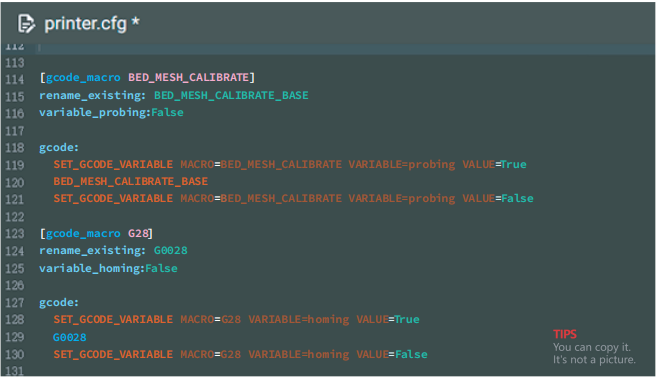
KNOMI requires the addition of relevant macros for homing and leveling within the printer.cfg file. Access the print control interface by entering the Klipper IP address into your browser, locate the config Files directory containing printer.cfg, and insert the following macro definitions. Once completed, save and exit.
Update Firmware
The highlights of upgrading KNOMI 1 to KNOMI 2 UI are as follows:
-
OTA (Over-the-Air) functionality has been added, allowing users to complete firmware upgrades online simply by dragging the firmware file into the Web interface.
-
The WiFi configuration Web interface has been optimized, enabling users to search for and select the desired WiFi connection directly on the Web page.
-
The KNOMI 2 UI has been upgraded with a completely new design, added QGL leveling UI, making the display effect more vivid.
-
Fixed the Bug of the print progress percentage, and achieved display synchronization with Mainsail/Klipperscreen.
-
Fixed other known bugs.
1、Please click on the link to download the burning tool https://www.espressif.com.cn/en/support/download/other-tools

2、Please click to download Firmware
3、Press and hold the button on knomi1 and connect it to the computer via USB.
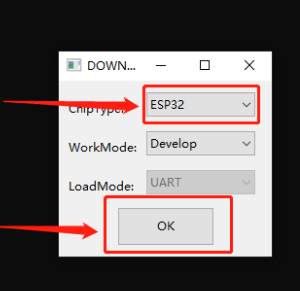
4、Click on .exe

5、Select esp32
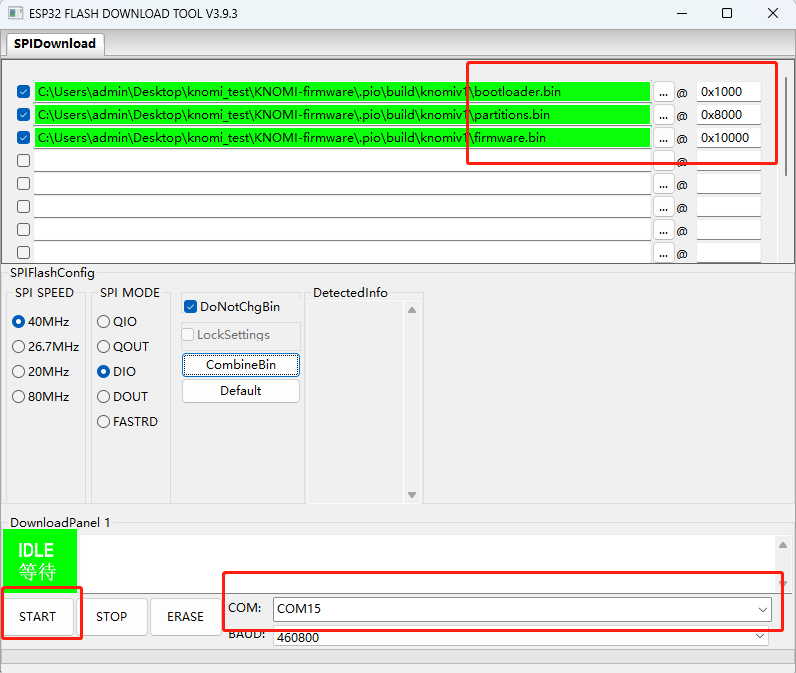
5、Unzip downloaded Firmware. Click "..." to add 3 corresponding bin files, and manually enter the corresponding bin file offset address after "@" (note that the bin file name corresponds to the address). Select COM for knomi1.Click "START" to start downloading, wait for the progress bar to end and prompt completion;
6、Unplug the USB and plug it back in (re power on), and you can see that the display screen displays the content normally, indicating successful burning;
Customize UI
Image conversion
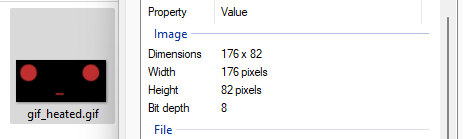
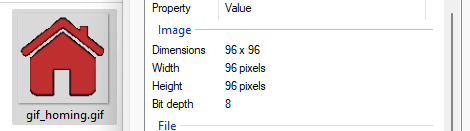
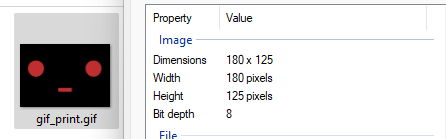
1、We have provided seventeen customizable gifs in knomi.
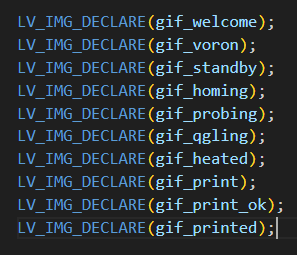
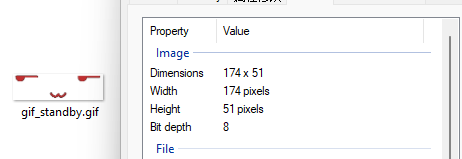
2、Click to download KNOMI GIF . You must change your GIF to the same name and pixel as the GIF what you want to replace. You can click on here (English)or here (Chinese) to modify your GIF pixels and right-click to view the GIF's.
For more GIF pixels, please click on https://bigtreetech.github.io/docs/KNOMI.html#picture-pixels
3、Click https://github.com/bigtreetech/KNOMI/tree/firmware to download the KNOMI1project. Using Visual Studio Code https://marlinfw.org/docs/basics/install_platformio_vscode.html to open the project and enter lvgl_ Gif.cpp file.
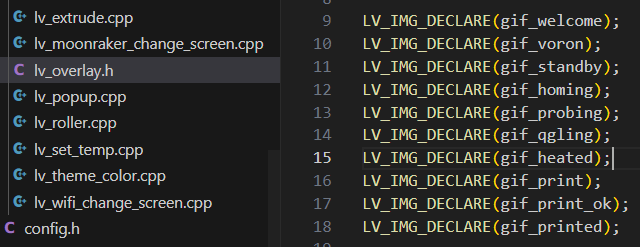
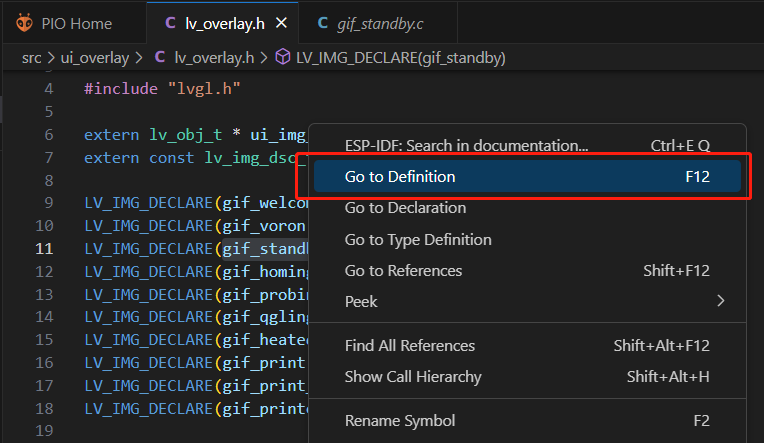
4、Right click on the GIF you want to replace and click on Go To Definition.
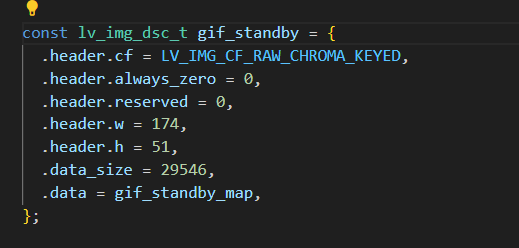
5、Can see the structure and data type header.cf of GIF
6、Click on the link to enter the GIF conversion tool https://lvgl.io/tools/imageconverter
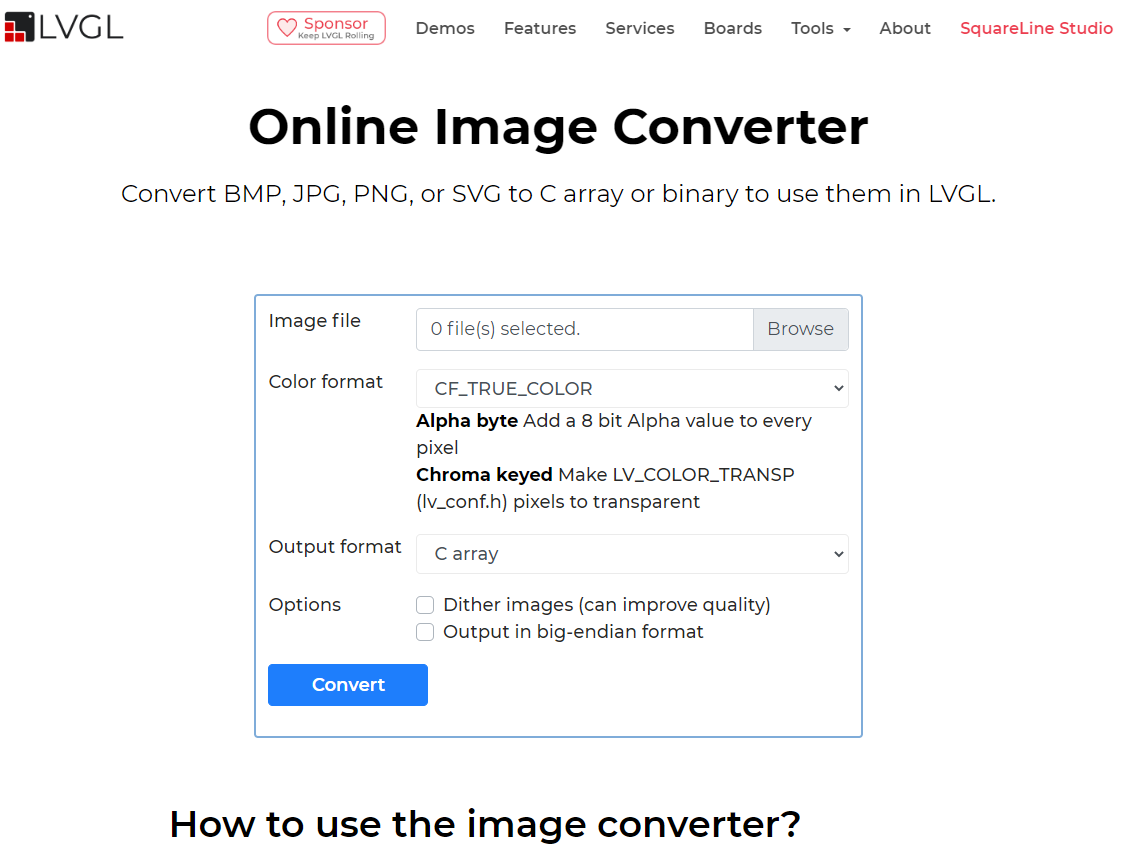
7、Click on BROWSE and select the new replacement GIF,The Color format selects the same data type as the original GIF
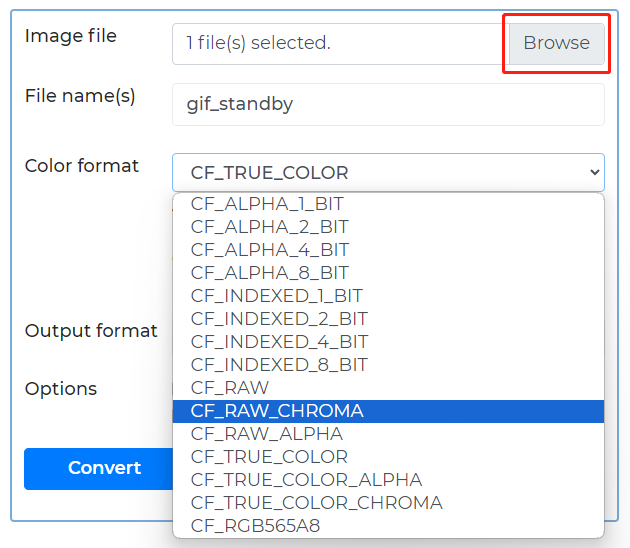
Note:After selecting CF_RAW_CHROMA, it will display as CF_RAW, please ignore this issue
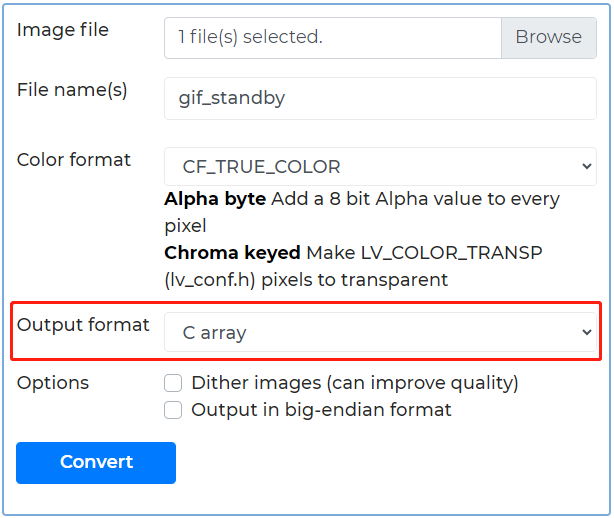
8、The Output format select C array,and click on Convert.
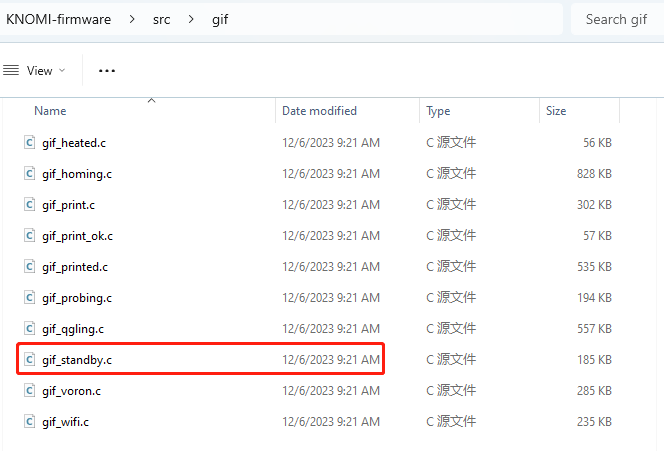
9、Replace the generated gif_standby. c file with the source file with the same name in the knomi project.
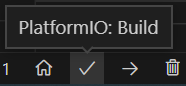
10、Click Compile.
11、After the compilation is completed, connect KNOMI to the computer through using the USB Type C connector. Click on download, and once the download is completed, power on KNOMI again.
Picture Pixels

Product Purchase Link
Purchase Link:
https://biqu.equipment/products/bigtreetech-knomi-v1-0
If you have any issues with the product, please submit a support ticket.
https://biqu3d.com/pages/submit-a-ticket
Navigation:
BIQU Official Website: http://biqu3d.com
BIGTREETECH Official Website: http://bigtree-tech.com
Online Store: https://biqu.equipment
BIGTREETECH Official Group: https://www.facebook.com/groups/bigtreetech
Discord: https://discord.gg/hhZsV7zk